

The proper installation of an electric tankless water heater significantly impacts your home's energy efficiency, performance, and safety. While the process may seem complex, following the correct steps can improve hot water supply efficiency and extend the appliance's lifespan.
This guide provides detailed step-by-step instructions for installation, including the necessary tools and materials, site preparation, unit mounting, electrical connections, final inspections, and initial operation. Additionally, we answer common questions about installing an electric tankless water heater to ensure safety and optimal performance.
Gathering Tools and Materials
Essential Tools
Before starting the installation, you should have the following tools ready:
-
Adjustable wrenches, pipe wrenches, drill/screwdriver, hole saw (for cutting pipes)
-
Screwdrivers, spirit level, voltage tester
-
Wire strippers, electrical tape, cable clamps
-
Hand truck (if removing an old water heater)
Required Materials
The following materials are needed for the installation of an electric tankless water heater:
-
Copper or PEX pipes (for water connection)
-
Ball valves, pipe connectors, PVC pipes
-
Waterproof sealant, conduit, power cable (matching the unit's power)
*Important: Use only materials specified in the product's operating manual to comply with safety standards and avoid voiding the warranty.
Installation Preparation
Shut off Power and Water Supply
Before you begin, ensure all lines are safely shut off:
-
Turn off the power supply (switch off circuit breaker or remove fuse).
-
Use a voltage tester to verify that no power is present.
-
Close the main water supply and open a nearby faucet until no more water flows to drain the system.
Removing the Old Water Heater (if present)
-
Connect a drain hose to the old unit's drain valve to drain any remaining water.
-
Disconnect the water lines and electrical connections and carefully remove the old unit to avoid damaging existing cables and pipes.
Installing the Electric Tankless Water Heater
Mounting the Unit
-
Choose a suitable installation location (preferably indoors, away from moisture and extreme temperatures).
-
Use a stud finder to locate wall studs for secure mounting.
-
Mark drill holes, drill pilot holes, and attach the unit using appropriate screws.
Connecting the Water Lines
Hot and Cold Water Connections:
-
Wrap thread seal tape around pipe threads to prevent leaks.
-
Connect the hot and cold water lines, ensuring the connection is tight.
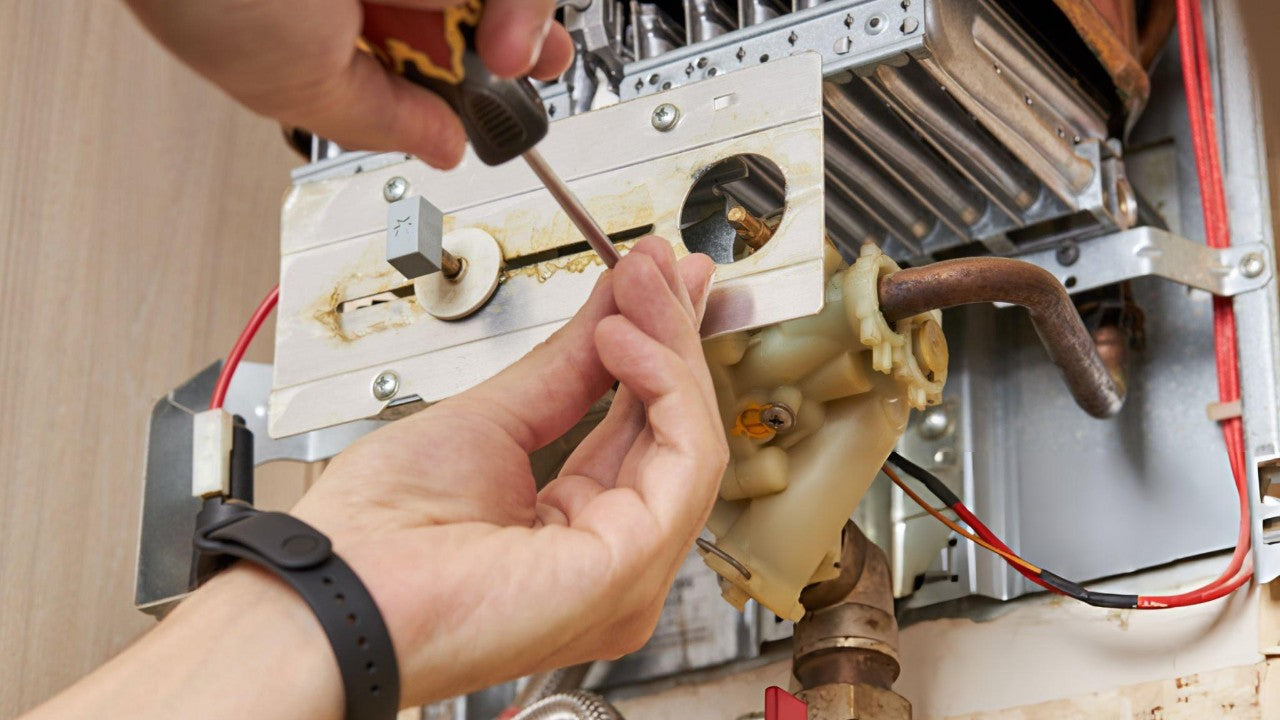
Electrical Connections
*IMPORTANT: Ensure the power is OFF before performing any electrical work!
-
Check electrical requirements (amperage, voltage, and fuse capacity must match unit specifications).
-
Follow manufacturer instructions to connect the power cables to the unit's terminals.
-
Properly attach the ground wire.
-
Install the terminal cover and check that all connections comply with local regulations.
Inspection and Initial Startup
Before turning on the unit, perform a thorough inspection.
Final System Checks
-
Check power connections (keep the circuit breaker off).
-
Check all water connections for leaks.
-
Ensure the pressure relief valve is working correctly to prevent pressure problems.
First Time Powering Up the Unit
-
Restore power supply.
-
Open the hot and cold water faucets to allow water to flow through the unit.
-
Leave a faucet open to remove air from the lines (initial sputtering is normal).
-
Turn on the unit and set the temperature to ensure hot water is supplied correctly.
-
Check the unit for leaks or irregularities during operation.
Installation Summary
This guide describes the entire installation process for an electric tankless water heater, from tool preparation, mounting, wiring, and inspection to initial startup. Whether you perform the installation yourself or hire a professional, understanding the process ensures a safe and optimal setup.
Key Takeaways
- Before installation, ensure electrical power and water pressure are compatible.
- Mount the unit securely to prevent vibrations and extend its lifespan.
- Follow all electrical regulations to ensure safety.
Thoroughly check the system for leaks and functionality before putting it into operation.
- Regularly maintain the unit to prevent scale buildup and improve efficiency.
*If you lack installation experience, consider hiring a professional to avoid safety risks.
Frequently Asked Questions (FAQs)
1. Can I install an electric tankless water heater myself?
Yes, but you should have experience with electrical wiring and plumbing. Improper installation can lead to damage or safety risks.
2. What should I consider before installation?
-
Power Supply: Ensure your circuit breaker box can provide the required amperage.
-
Water Pressure: Check that the water pressure meets the unit's specifications.
-
Installation Location: Avoid locations with high humidity, extreme temperatures, or poor ventilation.
-
Cable Specifications: Use the correct cable to avoid overloading.
3. How long does the installation take?
Typically, installation takes about 4 to 8 hours, depending on local conditions and the complexity of the process.